
Printer Maintenance
Printhead Alignment: A Test Page Checklist
EasyPrinthead Team · November 22, 2026
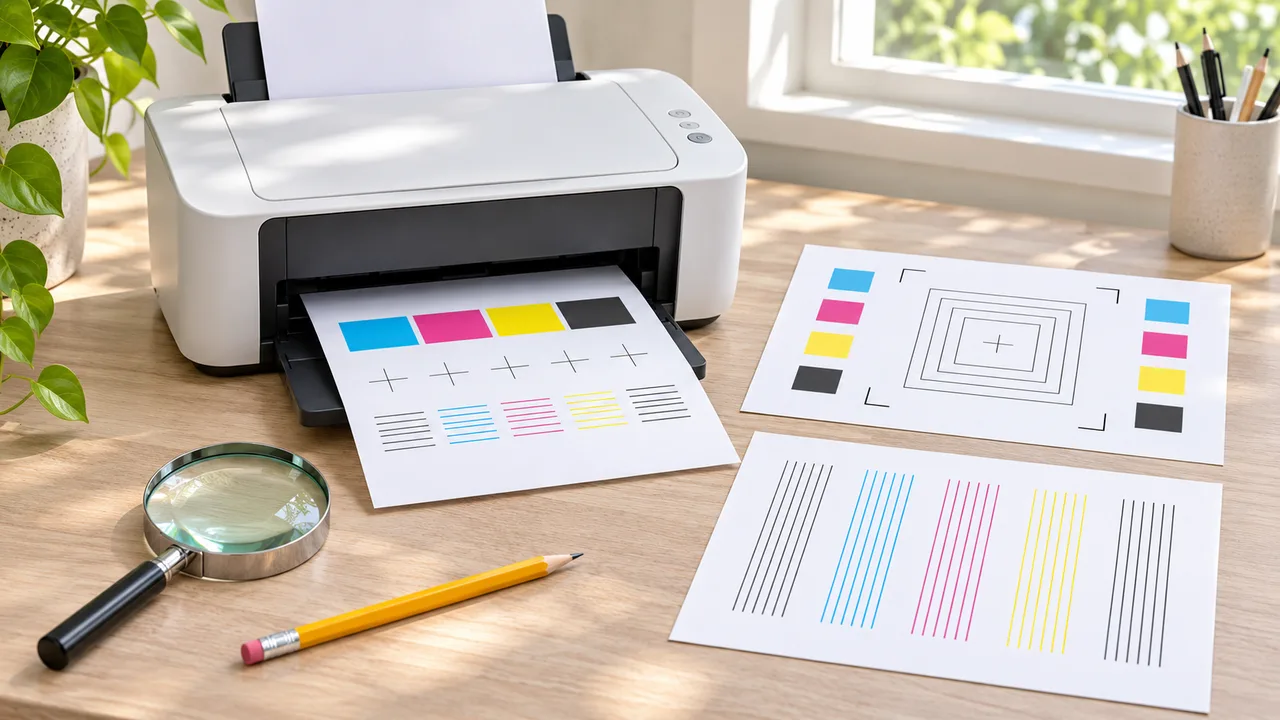
If printed vertical lines look uneven or text appears blurred, your printer may have an alignment procedure worth checking. Alignment and nozzle cleaning address different issues, and the correct steps depend on the exact printer. Start with the manufacturer's instructions and a sample print rather than opening the machine or repeatedly running maintenance routines.
This checklist helps you prepare and interpret an alignment test. It does not replace the printer manual or diagnose a failed printhead. If the printer displays an error or needs service, follow the manufacturer's support guidance.
Identify the exact printer and symptom
Find the model name on the printer or in its software and open the matching user guide. Note whether the issue appears on every document, only one paper type or only a particular application. Keep a sample that shows the problem, but remove personal information before sharing it with a technician.
Look for misaligned vertical lines, blurred text or repeated bands. These observations help you find the relevant troubleshooting section; they do not prove that alignment is the cause. A damaged or unsuitable paper, a driver setting or another printer issue may also affect the result.
Epson's alignment instructions for certain WorkForce models distinguish vertical alignment for blurred or misaligned lines from horizontal alignment for regular bands. The available choices and pattern differ by model, so use your own printer's guide.
Check the basics first
Confirm that the paper is loaded correctly and that the selected paper type matches the material. Use clean, flat sheets that meet the printer's specifications. For more on matching the setting to the material, see our paper type settings guide.
Check for messages about paper, ink or other maintenance items. If an error requires attention, resolve it according to the printer's instructions before beginning a calibration. Do not touch moving mechanisms or electrical contacts while the printer is operating.
Make sure the printer is connected and has enough paper for the complete test. Some models print multiple patterns or ask for several selections. Read the instructions before starting so you know what to expect and which controls to use.
Distinguish alignment from a nozzle check
A nozzle check prints a pattern intended to help identify missing or interrupted ink output. An alignment pattern helps select the printer's positioning adjustments. The tests answer different questions and should be performed in the order recommended for your model.
Our nozzle check guide describes how to compare a test pattern with the manufacturer's example. If the manual says to check nozzles before alignment, follow that sequence. Avoid repeated cleaning cycles beyond the manufacturer's guidance; they may consume ink and may not address an alignment issue.
Print the correct alignment sheet
Use the maintenance menu in the printer control panel or its official software, as specified for your model. Some printers align automatically; others print numbered patterns and ask you to choose a result. The paper size, tray and available options can vary.
On the Epson models in the linked guide, the user selects an alignment type and prints a sheet before making selections on the display. Other machines may present different choices. Do not copy menu names, numbers or settings from a different model just because the screens look similar.
Let the sheet finish printing. Handle it by the edges and compare it under good, even lighting. If the sheet is smudged, incomplete or different from the manual's example, consult the troubleshooting guidance rather than guessing a number.
Read and record the pattern
The manual should explain what to look for: for example, the most even lines or the least visible gaps in a particular group. Work through each group in the sequence shown for your machine. A phone photo can help you keep a record, but reflections and camera processing can make fine details harder to judge than the paper itself.
If two choices look similar, use the manufacturer's tie-breaking instructions if provided. If no pattern resembles the example, do not invent a selection. Check the guide for its recommended next step or contact support with the model and a clear description of the result.
Keep a note of the date, paper and settings used. This makes it easier to compare a later test without relying on memory.
Verify with a normal print
After completing the procedure, print a suitable test document on the paper and settings you normally use. Compare it with the original sample. If the issue remains, review the model's troubleshooting steps for paper, driver settings, nozzle condition or service. A single test cannot establish whether a component must be replaced.
Stop if the printer reports an error, makes unusual mechanical sounds or the manual instructs you to seek service. Use the official support channel or a qualified technician for inspection. A careful, model-specific process protects the equipment and gives you clearer information for the next step.
Cover: AI-generated editorial illustration of generic printer equipment, not a photograph of a specific product.