
Printer Maintenance
Inkjet Paper Type Settings: A Practical Setup Checklist
EasyPrinthead Team · November 21, 2026
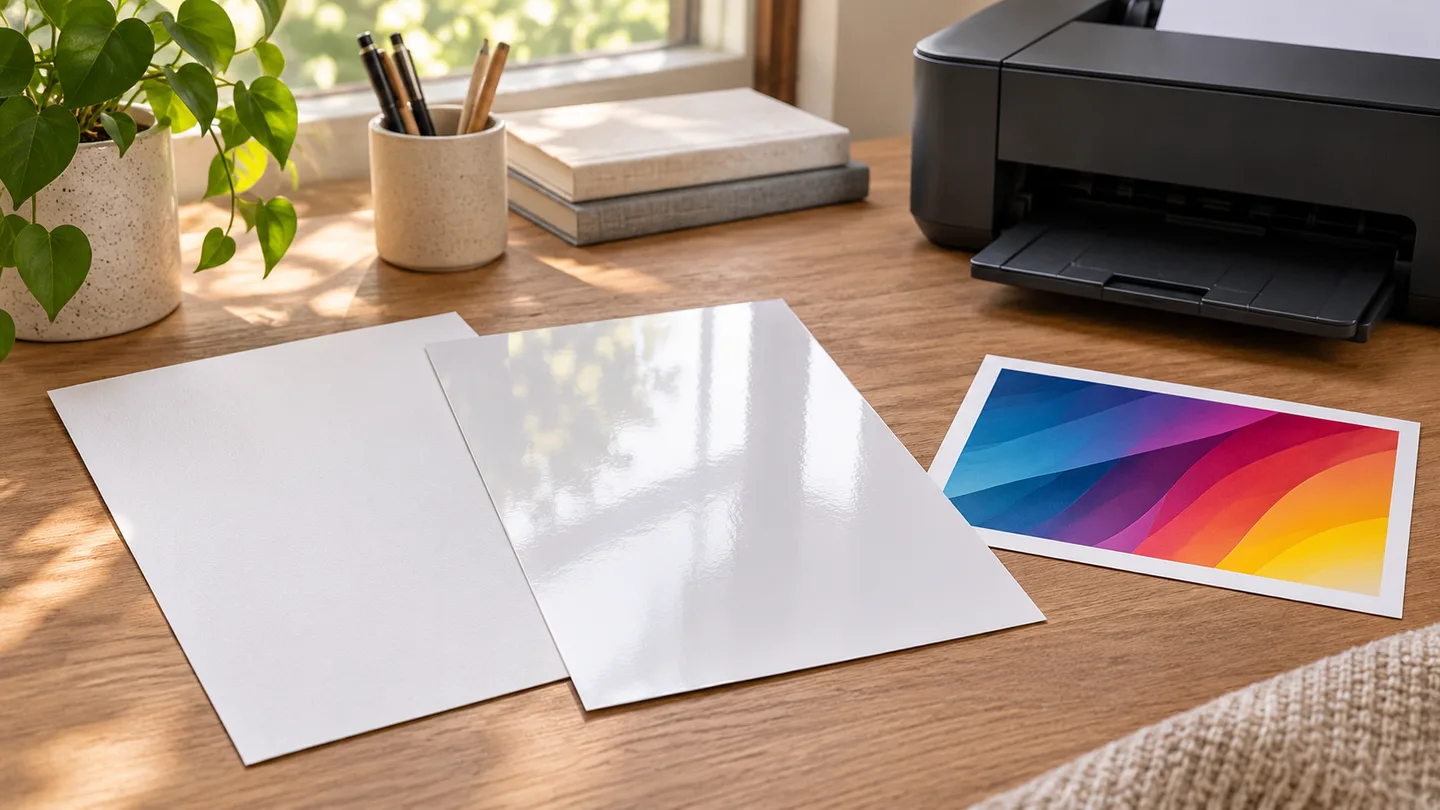
An inkjet printer may offer several paper choices even when the sheets in front of you look similar. Choosing a paper setting is more than a label for your records: it tells the printer driver what kind of media you have loaded. Matching the setting to the actual paper and the printer maker's instructions is a sensible starting point when you want consistent results.
This checklist covers ordinary sheet-fed inkjet printing. It does not replace the manual for your printer, paper or ink. Controls and supported media differ by model, so check the instructions for your exact equipment before loading a new stock.
Start with the paper package
Read the label before opening your print dialog. Look for the paper's intended printing technology, dimensions, finish and any feed or handling instructions. Inkjet media is designed for a particular printing process; a sheet intended for a different process is not automatically suitable just because its size matches.
Record the precise paper name and size rather than choosing the nearest-looking option from memory. Matte, glossy and other finishes can require different media selections, and two products with similar names may not use the same driver setting. When a paper maker provides a compatibility chart or recommended setting for your printer, use that guidance.
Check the printer manual for supported dimensions, thickness and feed path. A heavy sheet may need a particular tray or may not be supported at all. Do not force media through the printer or assume every tray has the same limits.
Match the driver to the loaded sheet
Open the print settings from the application you plan to use and select the correct printer. Find the paper type or media type control, then choose the setting recommended for the exact sheet. Epson's paper-type guidance explains that the printer adjusts itself for the selected paper setting and supplies a model-specific mapping table. Your own device may use different names.
Set the page size to match the loaded paper as well. Check orientation and scaling in the preview: a correct media type cannot compensate for the wrong page size or an image that is positioned outside the printable area. If the app and printer driver both show paper choices, confirm that the selections agree.
Save a preset only after checking it. A saved photo-paper preset can be convenient, but it can also remain selected when you return to plain office paper. Name presets clearly and verify them whenever you change media.
Check finish and printable side
Compare the finish described on the package with the media options recommended by the paper and printer manufacturers. A glossy sheet and a matte sheet need not share a setting. Some products may use a driver label that does not exactly match the wording on the packaging; use the maker's mapping rather than guessing.
Follow the package's printable-side and loading instructions. The correct orientation can depend on the printer's feed path, so check the device manual rather than assuming the printable side always faces up. Keep sheets clean and handle their surfaces as recommended by the paper maker.
Do not exceed the tray's stated capacity. Align guides according to the printer's instructions without bending the stack. If a sheet feeds crookedly or repeatedly jams, stop and consult the model's troubleshooting guidance before trying again.
Make one small test
Use a small representative image or document before committing a large job. Include the text, colors and fine details that matter for your work. Print at the intended size using the chosen paper type, quality and feed settings, and allow the output to dry according to the media instructions before handling or comparing it.
Look for obvious issues such as smearing, unexpected color, marks or clipped edges. Record the printer, paper, driver settings and application so you can reproduce a useful result. Viewing conditions and display settings can affect comparisons, so avoid drawing a conclusion from a single quick glance at a wet print.
If the result is not right, change one setting at a time and make another small test. Some quality or borderless options depend on the chosen media and size; for example, Epson's model-specific driver instructions identify such restrictions for that printer family. Do not assume those options apply to a different model.
Separate setup issues from maintenance
Paper settings are only one part of print quality. If a correct setup still produces missing lines or bands, follow your printer's troubleshooting sequence instead of immediately changing parts or repeatedly running cleaning cycles. The EasyPrinthead nozzle-check guide explains how to examine a test pattern and plan a model-specific next step.
Before making a change, confirm the paper, driver choice, feed path and test result. Keep a note of what worked for each paper. That short record can save time the next time you switch between everyday documents and a specialty media.
Cover: AI-generated editorial illustration of generic printing equipment and paper, not a photograph of a specific product.